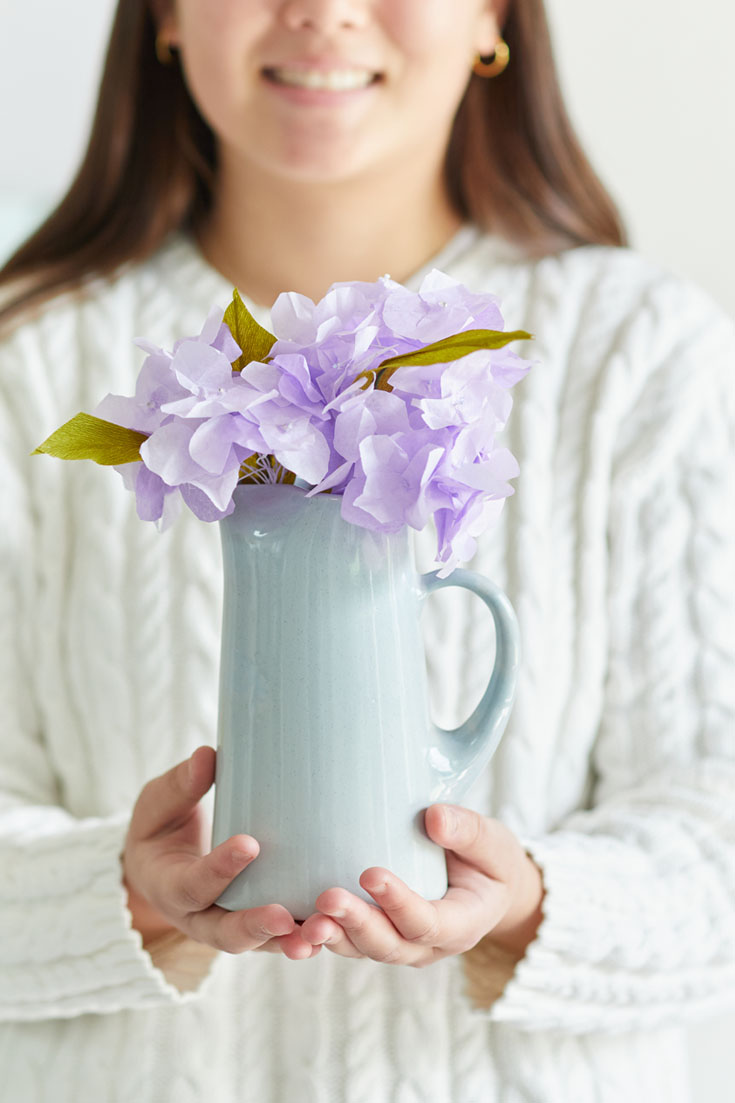
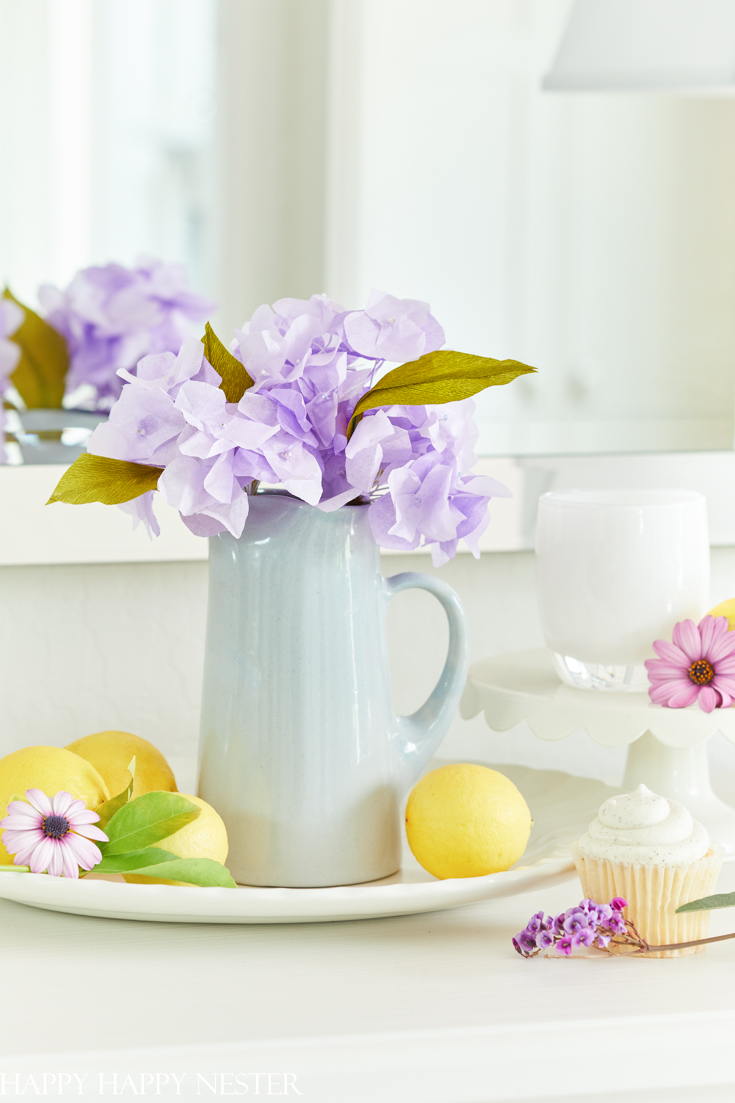
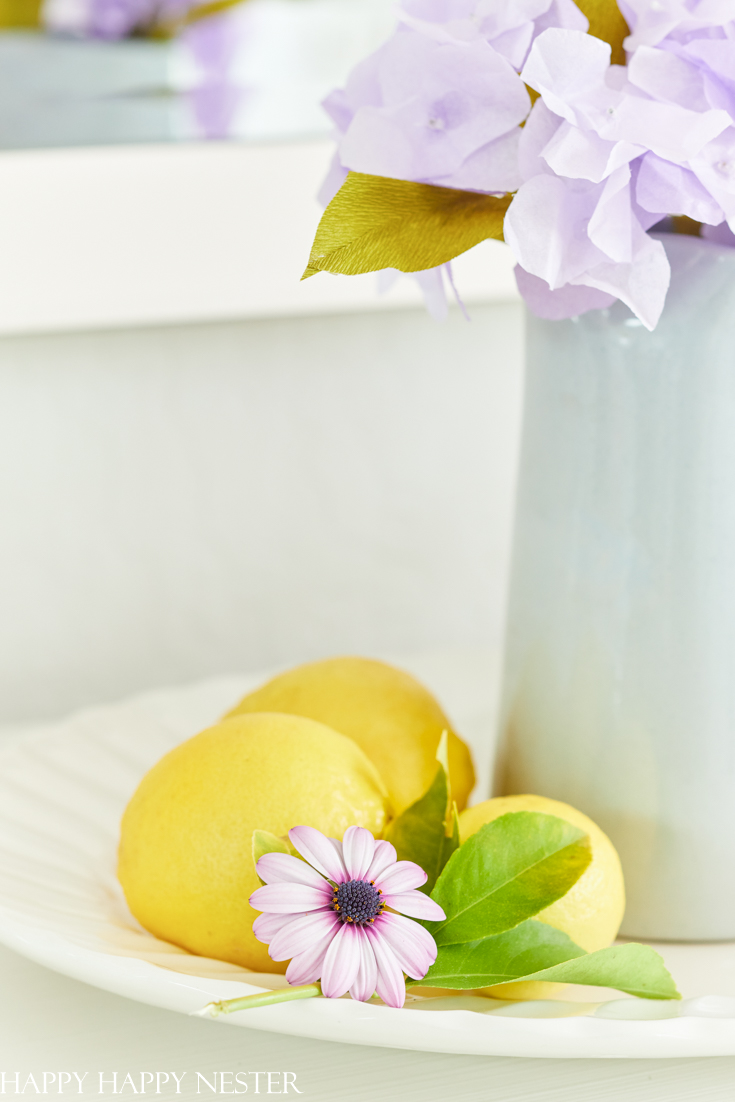
These DIY Paper Hydrangeas are made out of tissue paper. I love how the tissue paper resembles real flowers. Also, what’s cool about them is that they last forever, unlike fresh hydrangeas. You gotta love paper flowers.
But before we dive into my DIY paper hydrangeas tutorial, I need to mention that I’m joined by some remarkable bloggers and their paper spring projects. So make sure to check out their impressive paper crafts at the bottom of this post.
Signs of spring are popping up here in northern California. The pink Chinese Magnolias, Plum trees, and bright yellow Daffodils are blooming in our neighborhood, and so I’m surrounded by flowers all day long. And you know that I’m a bit crazy over everything flowers. So, lately, my attention and blog posts are overrun by flowers these days.
I’ve made my fair share of paper flowers, last year I made paper magnolias and the year before that I made paper cherry blossoms. Well, you can guess that paper hydrangeas have been on my list of things to make. So over the course of a week, I have tried making them with crepe paper, computer paper, dyed coffee filters, and finally tissue paper. I concluded that the tissue paper petals felt most like hydrangeas.
Well, enough chitchat, let’s get started with the DIY Paper Hydrangeas!
Tissue paper – buy two colors that are pretty close in shade. Here is a packet of tissue paper that has a wide array of colors.
Beads (I’m not sure if these are like mine, so I can’t be sure the wire will go through the hole)
Green Crepe paper – you can use green floral tape or green tissue paper.
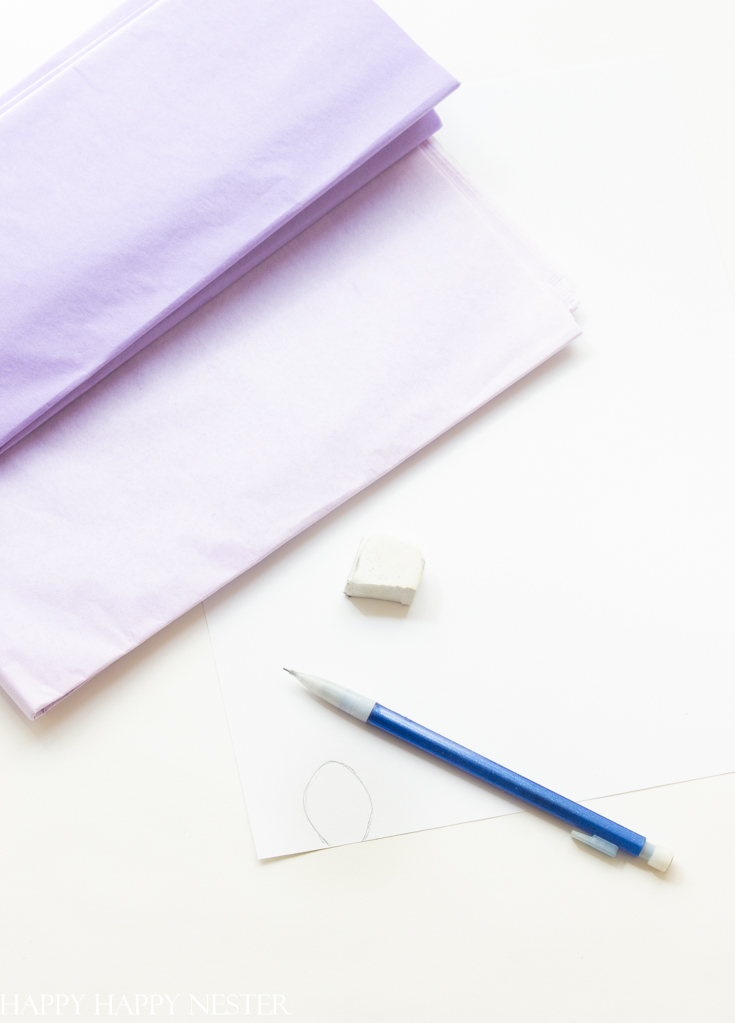
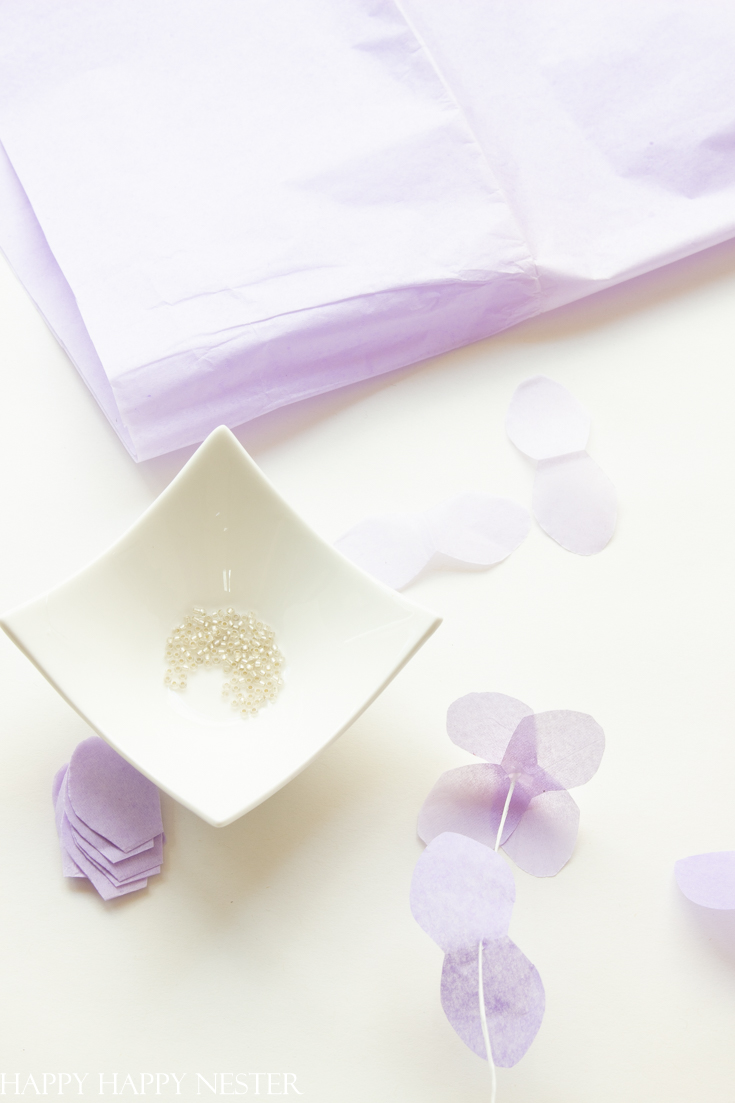
1. Let’s get this DIY paper hydrangeas project started. First, you’ll want to make a leaf template with a plain piece of paper. You can outline your thumb, and at the bottom of your petal template, make the lines go inward, as shown in the above photo. At the top of the petal create a slight point.
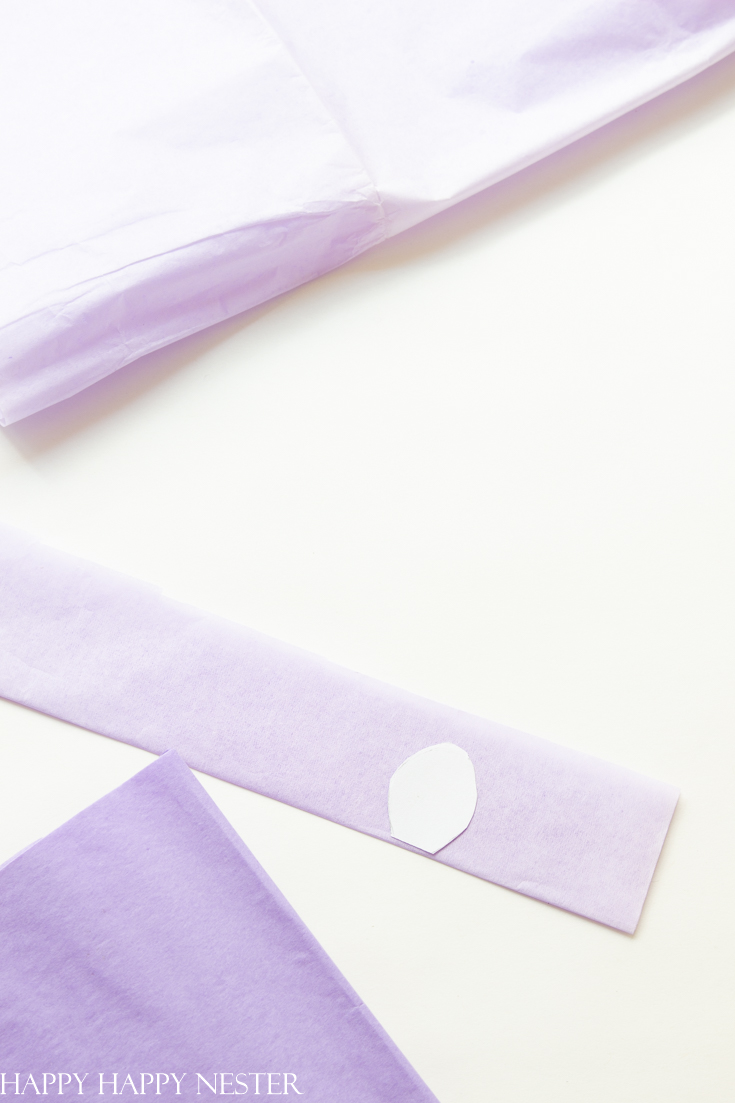
2. Fold over your tissue paper 1 1/2 inches to double it. Then place the cutout petal template at the bottom of your tissue paper. The bottom of the petal should line up with the fold. Leave enough room to cut out the petal and now fold the paper so you’ll have layers of paper to cut.
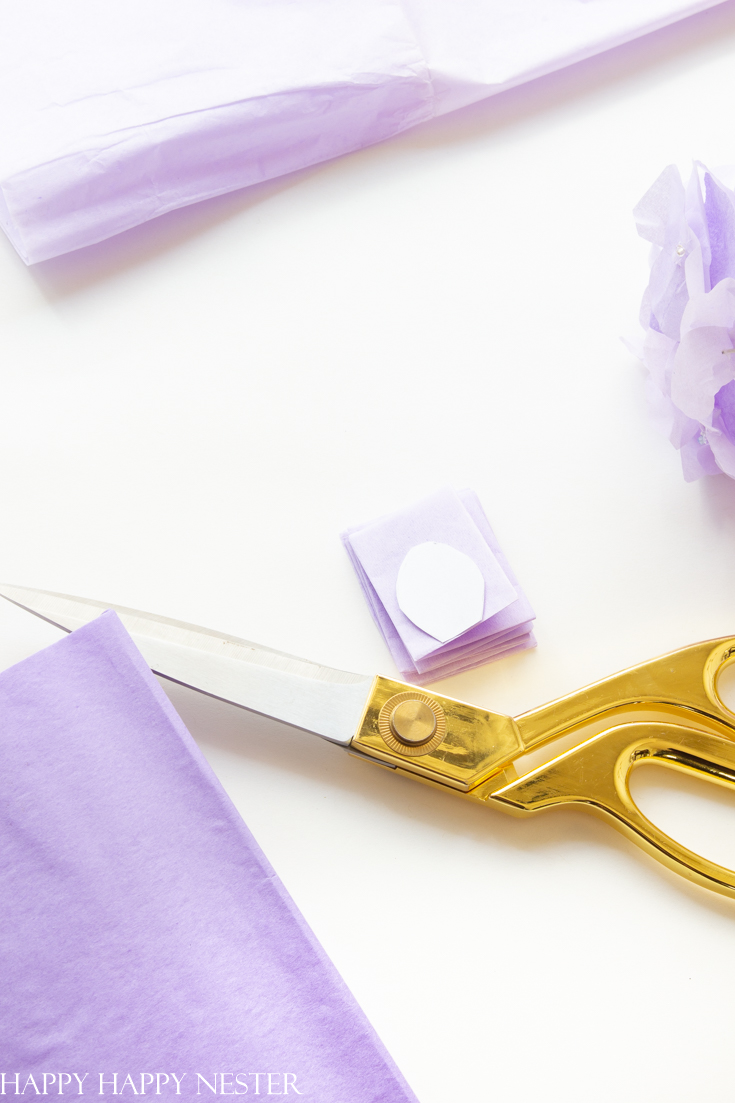
3. Cut out your petals through the many layers of tissue paper.
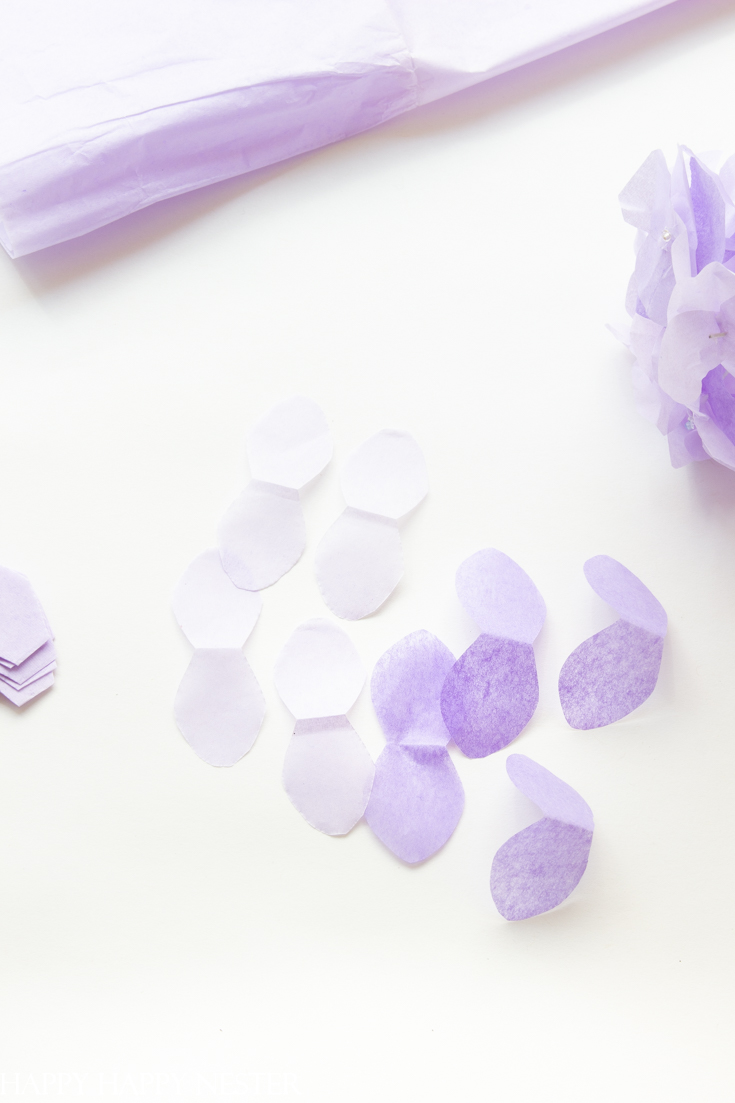
4. Cut out petals from each color tissue paper.
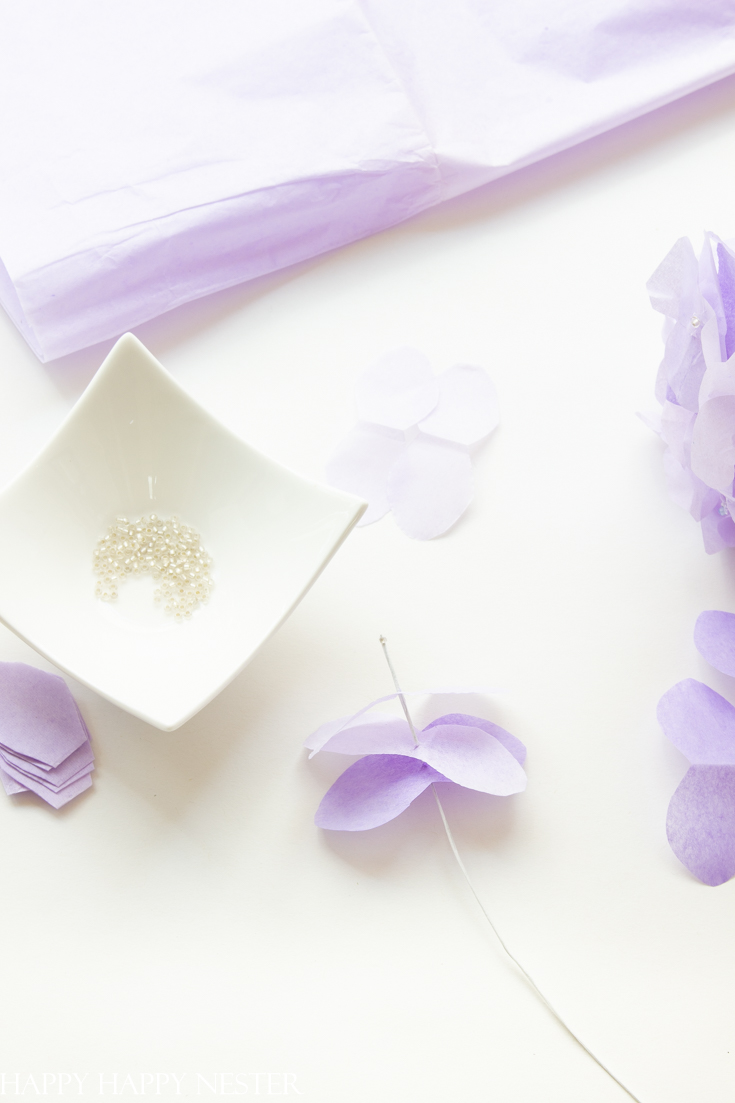
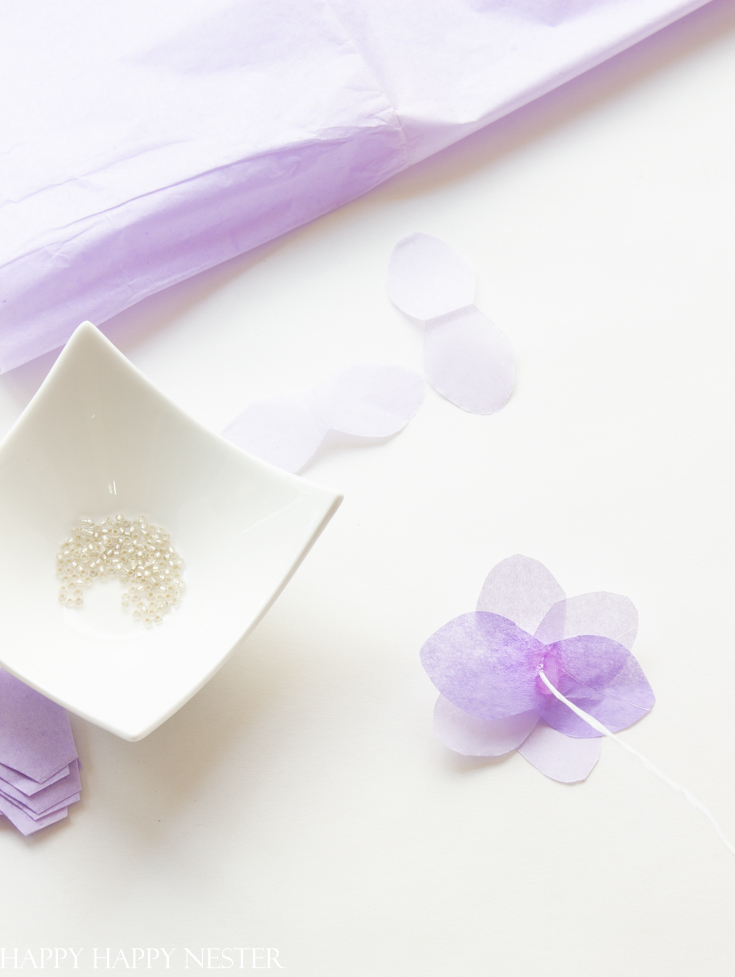
5. Unfold your petals and take one of your darker color petals and place it on your wire. Then string two of the lighter paper petals on the wire. So you will have three petals on your wire. Thread a bead through the wire at the top and place a dab of hot glue on the top.

6. Quickly pull up the first petal to the bead so that the glue keeps it in place. You are on your way to creating a pretty flower, and I hope you are enjoying this DIY paper hydrangeas tutorial.
8. Place a dab of glue on the backside of the first petal and bring up the next petal below it. The glue attaches the petals to each other and also to the stem. Next, repeat step 8 to secure the final petal. Just note that the petals are staggered from the petal above it.
9. Place a bit of glue on the backside of the last petal near the stem. This bit of glue helps to secure the flower to the stem.
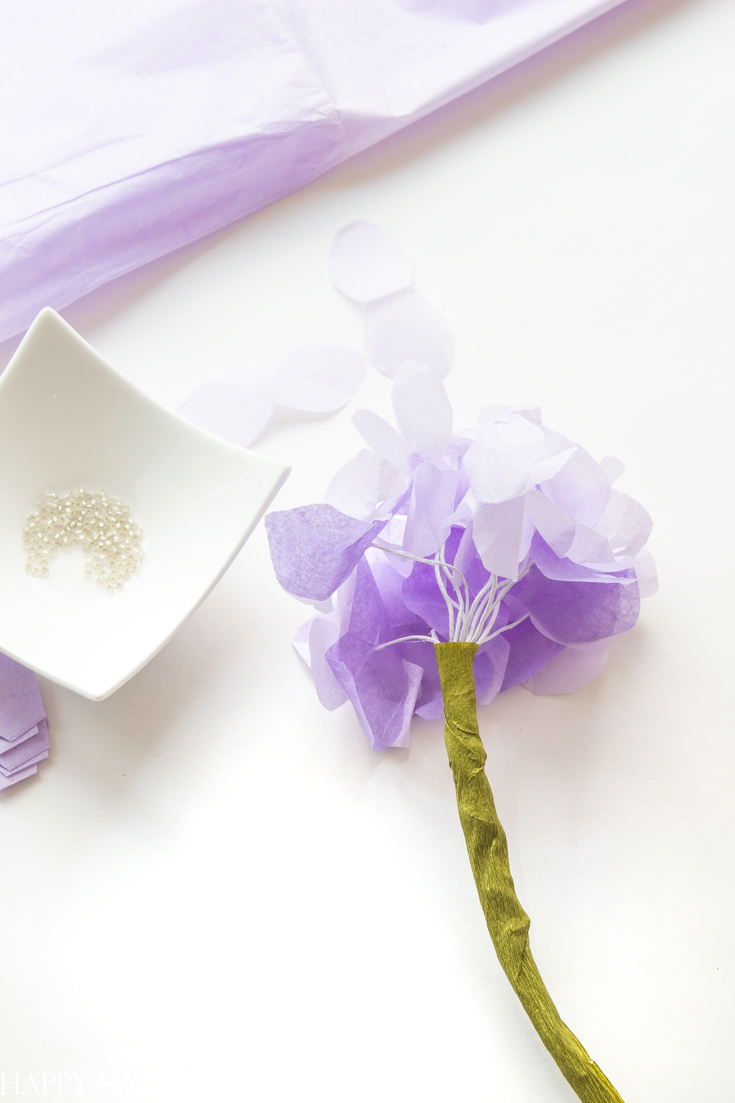
11. Once you have all your petals made, then arrange and attach all the stems together by twisting them. I used about 12 blossoms for one hydrangea flower.
Next, you can place either tissue paper, floral tape of crepe paper around the stem to hide the wires. I use a mossy green crepe paper that I cut with the paper lines going vertically. I wrapped the crepe paper around it and glued it to the stem.
Of course, I have another idea for a DIY paper hydrangeas project bouncing around in my head. And as you know, I never can be satisfied with just one version!
But, I hope you found this project helpful and that you like this paper flower. I will be showing how to make these hydrangeas in my private membership class. If you in interested in this community of women who create things, then maybe you’ll like to join us.